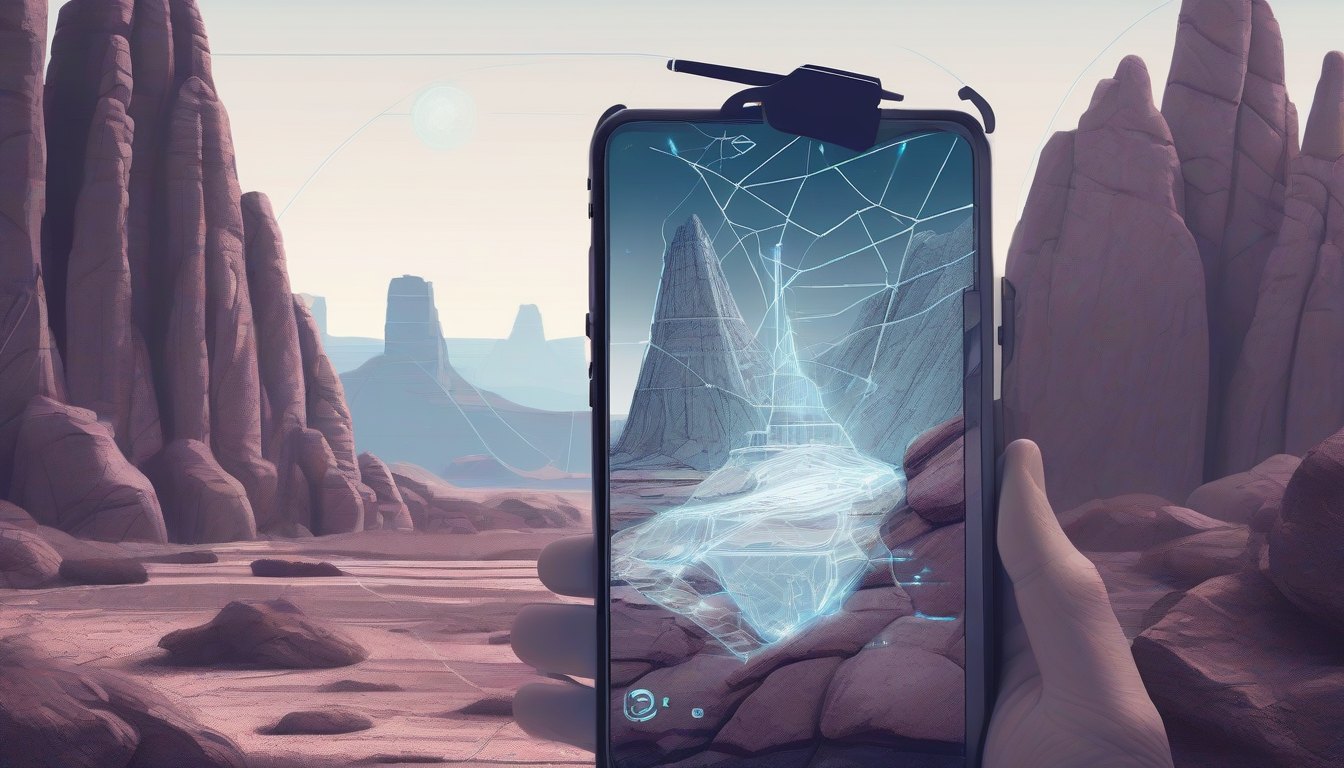
Trying to identify rocks and geologic features on the fly, right from your phone’s camera, is tougher than it sounds. You want a web app that’s fast, accurate, and works outdoors—even without a steady internet connection. If you’ve struggled with clunky tools or complex workflows to recognize rocks in real time, this post is for you.
Here, you’ll learn how to build a real-time geology identifier web app that combines machine learning, augmented reality, and geologic map data. We’ll walk through integrating AR overlays, applying a lightweight ML model to classify rocks instantly, and implementing offline capabilities to keep your app reliable in the field.
This tutorial is aimed at developers comfortable with JavaScript and web technologies who want to create practical, interactive tools for geoscience or outdoor apps. By the end, you’ll have a solid foundation to build your own geology identifier with smooth, real-world usability.
🗺️ Integrating Geologic Map Data and Augmented Reality
To build a real-time geology identifier, you need to bring together geologic map data and overlay it precisely on a live camera feed. This means accessing detailed geological layers, then using device sensors to position AR overlays that highlight rock features exactly where they are in the real world.
Why it matters: Accurate overlays allow users to instantly recognize rock types and geologic formations around them, making the app feel intuitive and informative rather than just a map on a screen.
Access and parse geologic map data
Start with open-source geological data sources like Macrostrat and USGS layers, typically available as GeoJSON. Use these to load geological units, faults, and soil layers relevant to the user’s location.
Overlay map data onto live camera feed
Use Mapbox GL JS to render the geologic layers as vector tiles or GeoJSON overlays. For the AR experience, combine this with WebXR or a library like three.ar.js to access the camera and render overlays in 3D space.
Use GPS and device orientation for accurate positioning
Gather the device’s GPS coordinates and compass heading via the Geolocation API and DeviceOrientation events. Convert this data into map coordinates and align your geological layers accordingly, so the overlays correspond to the real-world view.
Implement rock feature highlighting and selection
Enable tap or hover events on the map overlays to highlight specific rock units. When a user selects a feature, display detailed info such as age, composition, and formation history.
Example: Basic setup combining Mapbox and device orientation for AR overlay
import mapboxgl from 'mapbox-gl';

mapboxgl.accessToken = 'YOUR_MAPBOX_ACCESS_TOKEN';

const map = new mapboxgl.Map({
  container: 'map',
  style: 'mapbox://styles/mapbox/outdoors-v11',
  center: [-122.45, 37.75], // Default center, update with GPS
  zoom: 14,
  pitch: 60, // Tilt for better AR effect
  bearing: 0, // Will update with device orientation
});

navigator.geolocation.getCurrentPosition(({ coords }) => {
  map.setCenter([coords.longitude, coords.latitude]);
});

window.addEventListener('deviceorientationabsolute', (event) => {
  if (event.absolute && event.alpha !== null) {
    // alpha: 0 = device facing north
    const bearing = 360 - event.alpha;
    map.rotateTo(bearing, { duration: 0 });
  }
});

// Load geologic GeoJSON data (e.g., Macrostrat units)
map.on('load', () => {
  map.addSource('geology', {
    type: 'geojson',
    data: '/data/macrostrat_units.geojson',
  });

  map.addLayer({
    id: 'geology-fill',
    type: 'fill',
    source: 'geology',
    paint: {
      'fill-color': [
        'match',
        ['get', 'rock_type'],
        'granite', '#d2691e',
        'limestone', '#f5deb3',
        'sandstone', '#deb887',
        '#888888',
      ],
      'fill-opacity': 0.6,
    },
  });

  map.on('click', 'geology-fill', (e) => {
    const props = e.features[0].properties;
    alert(`Rock: ${props.rock_type}\nAge: ${props.age}\nDescription: ${props.description}`);
  });
});
This example:
- Centers the map on the user’s location
- Rotates the map based on device compass heading
- Loads geological units as colored fills
- Enables click interaction to show rock info
To extend this into AR, use WebXR’s camera feed as background and position these layers in 3D space using device orientation and GPS altitude data.
🧠 Applying Machine Learning for Real-Time Rock Identification
Building a geology identifier that works in real time means your app has to quickly classify rocks using images from the camera. A lightweight, on-device machine learning model is the key to instant feedback without relying on a server.
Dataset Preparation
Start with a labeled dataset of rock images tagged by age and composition. You can combine photos from field collections with geologic map metadata (like from Macrostrat). Organize your images in folders by class, for example:
dataset/Cenozoic/granite_001.jpgdataset/Paleozoic/shale_023.jpgdataset/Mesozoic/sandstone_007.jpg
Use this structure to generate training and validation splits. Augment data with rotations and brightness shifts to improve robustness.
Model Choice: Lightweight CNN with TensorFlow.js
For browser and mobile inference, TensorFlow.js supports small convolutional neural networks (CNNs) that run efficiently on-device. You can start with a simple architecture like MobileNetV2 or build a custom CNN with a few convolutional layers.
Training Example (Node.js)
Here’s a simplified example showing how to load images, define a small CNN, train, and save the model for browser deployment:
import * as tf from '@tensorflow/tfjs-node';
import fs from 'fs';
import path from 'path';

const IMAGE_SIZE = 128;
const BATCH_SIZE = 32;
const EPOCHS = 10;
const DATA_DIR = './dataset';

function loadImagesAndLabels(dataDir) {
  const classes = fs.readdirSync(dataDir);
  const images = [];
  const labels = [];
  classes.forEach((label, idx) => {
    const classDir = path.join(dataDir, label);
    const files = fs.readdirSync(classDir);
    files.forEach(file => {
      const imgBuffer = fs.readFileSync(path.join(classDir, file));
      const imgTensor = tf.node.decodeImage(imgBuffer)
        .resizeNearestNeighbor([IMAGE_SIZE, IMAGE_SIZE])
        .toFloat()
        .div(tf.scalar(255.0));
      images.push(imgTensor);
      labels.push(idx);
    });
  });
  return { images: tf.stack(images), labels: tf.tensor1d(labels, 'int32'), classes };
}

async function train() {
  const { images, labels, classes } = loadImagesAndLabels(DATA_DIR);

  const model = tf.sequential();
  model.add(tf.layers.conv2d({
    inputShape: [IMAGE_SIZE, IMAGE_SIZE, 3],
    filters: 16,
    kernelSize: 3,
    activation: 'relu'
  }));
  model.add(tf.layers.maxPooling2d({ poolSize: 2 }));
  model.add(tf.layers.conv2d({ filters: 32, kernelSize: 3, activation: 'relu' }));
  model.add(tf.layers.maxPooling2d({ poolSize: 2 }));
  model.add(tf.layers.flatten());
  model.add(tf.layers.dense({ units: 64, activation: 'relu' }));
  model.add(tf.layers.dense({ units: classes.length, activation: 'softmax' }));

  model.compile({
    optimizer: tf.train.adam(),
    loss: 'sparseCategoricalCrossentropy',
    metrics: ['accuracy']
  });

  await model.fit(images, labels, {
    epochs: EPOCHS,
    batchSize: BATCH_SIZE,
    validationSplit: 0.2,
  });

  await model.save('file://./rock-model');
  console.log('Model trained and saved.');
}

train();
On-Device Inference with TensorFlow.js
Load the saved model in your web app and perform inference on camera frames. Here's how to predict and display confidence scores:
import * as tf from '@tensorflow/tfjs';

let model;
const IMAGE_SIZE = 128;
const classes = ['Cenozoic Granite', 'Paleozoic Shale', 'Mesozoic Sandstone']; // Example classes

async function loadModel() {
  model = await tf.loadLayersModel('/rock-model/model.json');
}

function preprocessImage(videoFrame) {
  return tf.tidy(() => {
    return tf.browser.fromPixels(videoFrame)
      .resizeNearestNeighbor([IMAGE_SIZE, IMAGE_SIZE])
      .toFloat()
      .div(tf.scalar(255.0))
      .expandDims();
  });
}

async function predictRock(videoFrame) {
  if (!model) return null;
  const input = preprocessImage(videoFrame);
  const prediction = model.predict(input);
  const scores = prediction.dataSync();
  input.dispose();
  prediction.dispose();

  const maxIndex = scores.indexOf(Math.max(...scores));
  return { className: classes[maxIndex], confidence: scores[maxIndex] };
}
Integrating Predictions with the Map
Once you get a prediction, display the rock’s name and confidence on screen, and highlight the corresponding geologic unit on your map. This creates a seamless real-time experience where the camera and map talk to each other.
Optimizations for Mobile
- Use model quantization techniques to shrink model size and speed up inference.
- Limit input resolution to balance accuracy and performance.
- Throttle inference frequency (e.g., predict every 500ms) to save CPU and battery.
- Utilize WebGL backend in TensorFlow.js for hardware acceleration.
📡 Implementing Offline Mode and Data Caching
Real-time geology identification is amazing, but it hits a wall when your app depends entirely on live internet connections. Out in the field, signal can be patchy or non-existent. That’s why caching geological map tiles, data, and ML models locally is crucial for a smooth offline experience.
Using browser storage like IndexedDB or localStorage lets you save pre-downloaded assets and data. IndexedDB is the better fit for large binary files like map tiles and ML models, while localStorage is limited to small strings.
Choosing the right storage: IndexedDB vs localStorage
| Feature | IndexedDB | localStorage |
|---|---|---|
| Storage size | Hundreds of MBs (varies by browser) | ~5MB |
| Data type | Binary blobs, JSON, strings | Strings only |
| Async API | Yes | No (sync) |
| Use case | Maps, ML models, large data | Small config, flags |
Step 1: Caching map tiles and geological data
Download map tiles and geological JSON data ahead of time. Store them in IndexedDB with a version key to manage updates. Use a service worker or background sync to refresh data when online.
Step 2: Storing ML models locally
Most TensorFlow.js or ONNX.js models can be saved as binary files. Fetch these once and store in IndexedDB to avoid repeated downloads. Load models from IndexedDB when offline.
Step 3: Handling versioning and updates
Keep a version manifest in IndexedDB or localStorage. When the app starts, check for newer versions online. If found, download and replace cached data to keep offline content fresh.
Step 4: Building fallback UI for offline mode
Detect offline status with the navigator.onLine API and show fallback UI indicating limited features or cached data usage. Disable features requiring live data gracefully.
Step 5: Reducing data size for offline use
- Compress map tiles (e.g., WebP or JPEG2000)
- Use simplified geological data with fewer details
- Quantize ML models or use smaller architectures
Example: Caching and loading a geological map tile in IndexedDB
async function openDB() {
  return new Promise<IDBDatabase>((resolve, reject) => {
    const request = indexedDB.open('GeoCacheDB', 1);
    request.onupgradeneeded = () => {
      const db = request.result;
      if (!db.objectStoreNames.contains('mapTiles')) {
        db.createObjectStore('mapTiles', { keyPath: 'tileId' });
      }
    };
    request.onsuccess = () => resolve(request.result);
    request.onerror = () => reject(request.error);
  });
}

async function cacheMapTile(tileId: string, tileBlob: Blob) {
  const db = await openDB();
  return new Promise<void>((resolve, reject) => {
    const tx = db.transaction('mapTiles', 'readwrite');
    const store = tx.objectStore('mapTiles');
    store.put({ tileId, tileBlob });
    tx.oncomplete = () => resolve();
    tx.onerror = () => reject(tx.error);
  });
}

async function getCachedMapTile(tileId: string): Promise<Blob | null> {
  const db = await openDB();
  return new Promise((resolve, reject) => {
    const tx = db.transaction('mapTiles', 'readonly');
    const store = tx.objectStore('mapTiles');
    const request = store.get(tileId);
    request.onsuccess = () => {
      if (request.result) {
        resolve(request.result.tileBlob);
      } else {
        resolve(null);
      }
    };
    request.onerror = () => reject(request.error);
  });
}

// Usage example: cache a tile fetched from network
async function fetchAndCacheTile(url: string, tileId: string) {
  const response = await fetch(url);
  const blob = await response.blob();
  await cacheMapTile(tileId, blob);
}
Common pitfalls
- Ignoring storage limits — browsers may clear IndexedDB if quota is exceeded.
- Not versioning data — leads to stale offline content.
- Blocking UI on sync — always use async patterns to avoid freezes.
- Failing to handle partial data — fallback gracefully if some tiles or models aren’t cached.
- Not compressing data — leads to bloated storage and slow downloads.
🔧 Common Pitfalls and How to Avoid Them
Handling Device GPS and Orientation Inaccuracies
GPS data isn’t always precise, especially in rugged terrain or areas with dense tree cover. This can cause your app to display incorrect rock locations or misalign AR overlays. To mitigate this, use sensor fusion techniques by combining GPS with device compass and accelerometer data. Also, implement smoothing filters like Kalman or low-pass filters to stabilize position and orientation readings.
Optimizing Model Performance vs Accuracy Trade-Offs
Machine learning models for rock identification often face a trade-off between speed and accuracy. Heavy models provide better predictions but can cause lag on mobile devices. Use lightweight architectures like MobileNet or quantized models to reduce computation. Experiment with pruning or knowledge distillation to shrink your model while maintaining acceptable accuracy.
Managing AR Layer Alignment and Latency
Real-time AR requires precise alignment of virtual geology data with the physical environment. Latency in sensor updates or rendering can cause the AR layer to jitter or lag behind, breaking immersion. Optimize your rendering pipeline to minimize frame drops and update AR anchors frequently. Employ predictive tracking algorithms to anticipate device movement and adjust overlays accordingly.
Dealing with Diverse Lighting and Weather Conditions Affecting Image Capture
Lighting variability—bright sun, shadows, or overcast skies—can degrade the quality of images fed into your ML model, reducing identification accuracy. Implement adaptive preprocessing steps like histogram equalization or auto white balance to normalize images. Consider augmenting your training dataset with varied lighting conditions to improve model robustness.
Ensuring Smooth UI on Lower-End Devices
Not all users have flagship phones. Lower-end devices may struggle with AR rendering and ML inference simultaneously. Optimize by reducing AR scene complexity, limiting concurrent animations, and batching ML inferences. Provide settings to toggle between high and low-quality modes, balancing visual fidelity with performance.
// Example: Simple low-pass filter for smoothing orientation data
let alpha = 0.1;
let lastOrientation = 0;

function smoothOrientation(newOrientation) {
  lastOrientation = alpha * newOrientation + (1 - alpha) * lastOrientation;
  return lastOrientation;
}
🧩 Conclusion
Building a real-time geology identifier web app with machine learning opens exciting possibilities for both enthusiasts and professionals. By integrating geologic data, optimized models, and thoughtful offline support, you can create a seamless and interactive experience. Next, consider enhancing your app with augmented reality features or improving model accuracy to handle diverse environments. Continuous iteration and user feedback will help refine the tool and expand its real-world applications.
Key Takeaways
- Combine geologic map data with AR for immersive exploration
- Use optimized ML models for real-time rock classification in browsers
- Implement offline caching to ensure functionality without connectivity
- Plan for GPS errors, performance limits, and environmental variability